Offering different variants by postal code
Last updated
Was this helpful?
Last updated
Was this helpful?
In this tutorial, we'll talk about configuring a Shopify store to...
Prompt the visitor to enter their postal code upon arrival
Only display variants that have their "Postal code" option set to equal the postal code that the visitor entered
To do this, we'll use a series of variant locks, and one shop lock. We'll also use passcode key conditions, leveraging the ability to use a single passcode entry to activate many passcode keys at once.
We've set up a store that contains a couple of sample products, with a handful of supported postal codes.
(password: locksmith)
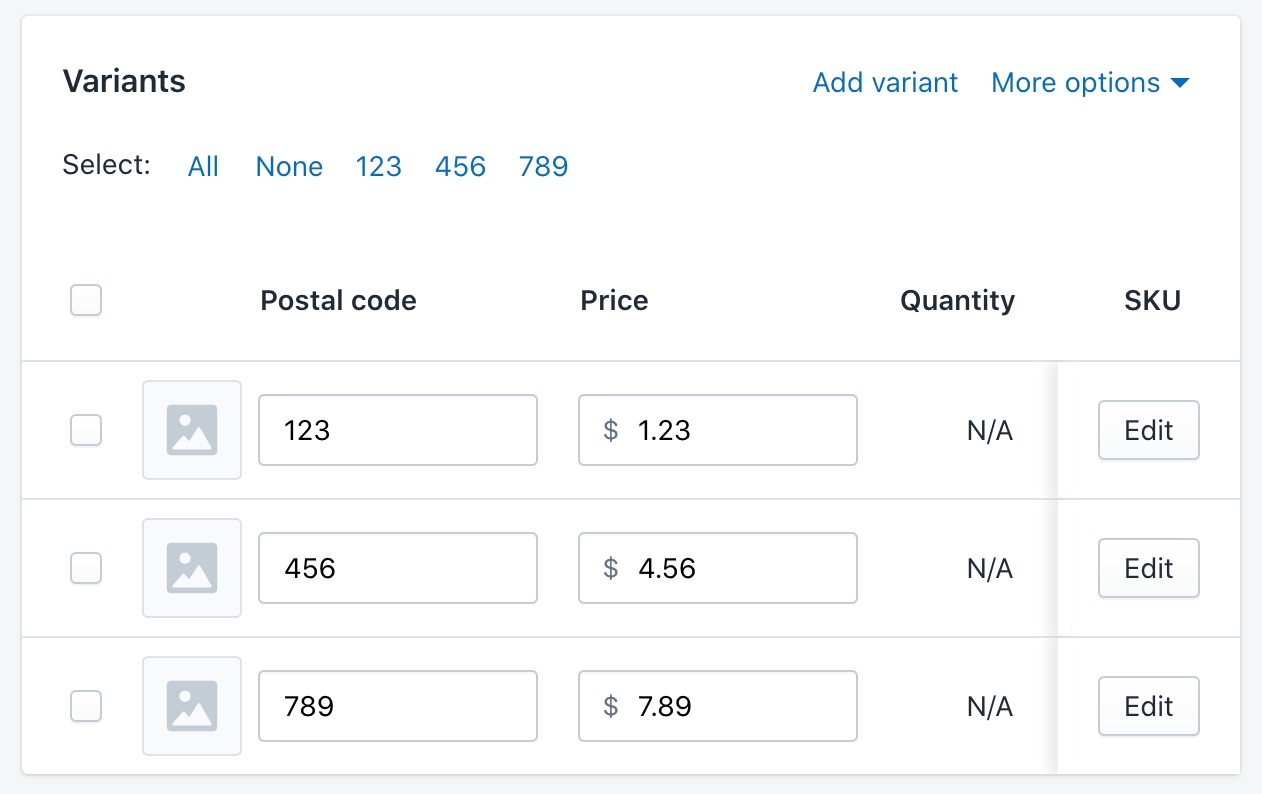
For each of your products, add an option labeled "Postal code". Add one variant for each postal code that you want to support.
In the demo store linked above, here's how the variants are displayed in Shopify, for one of the sample product:
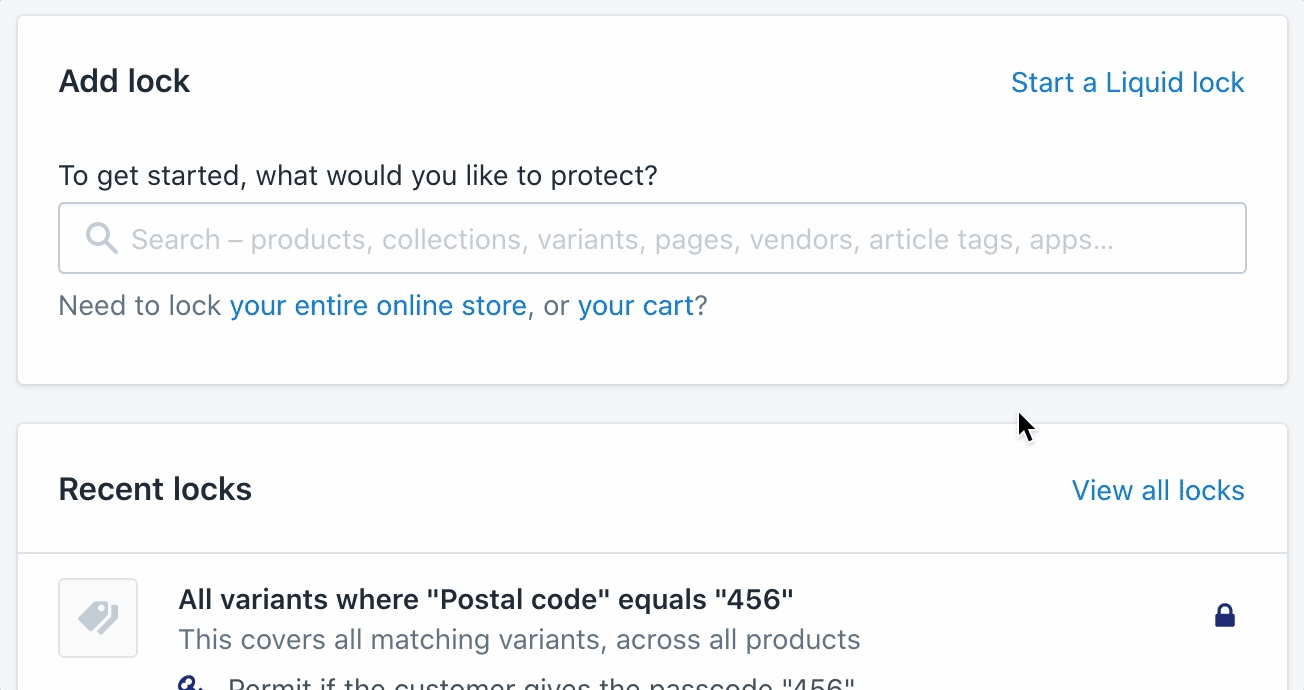
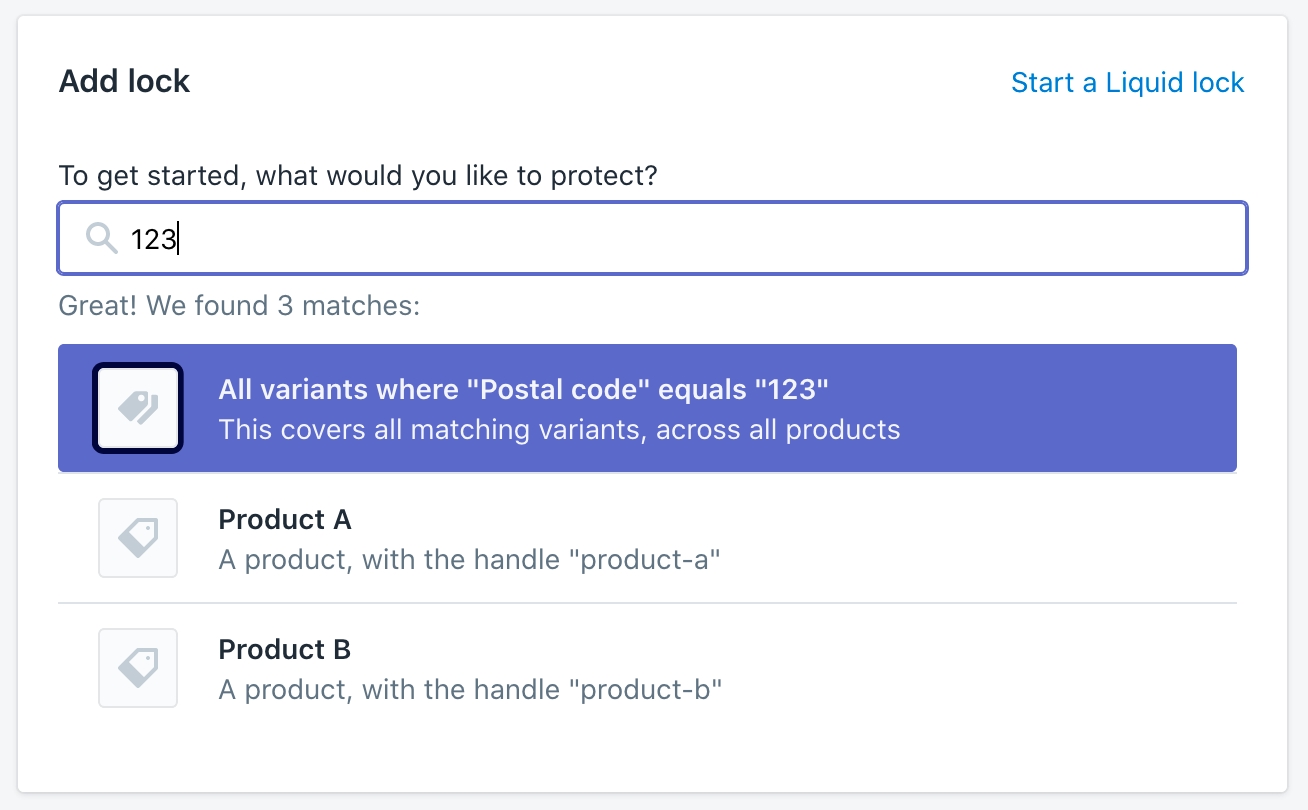
Open the Locksmith app. Using Locksmith's search box, locate each variant option, one at a time:
Select the matching item, and continue to save the lock.
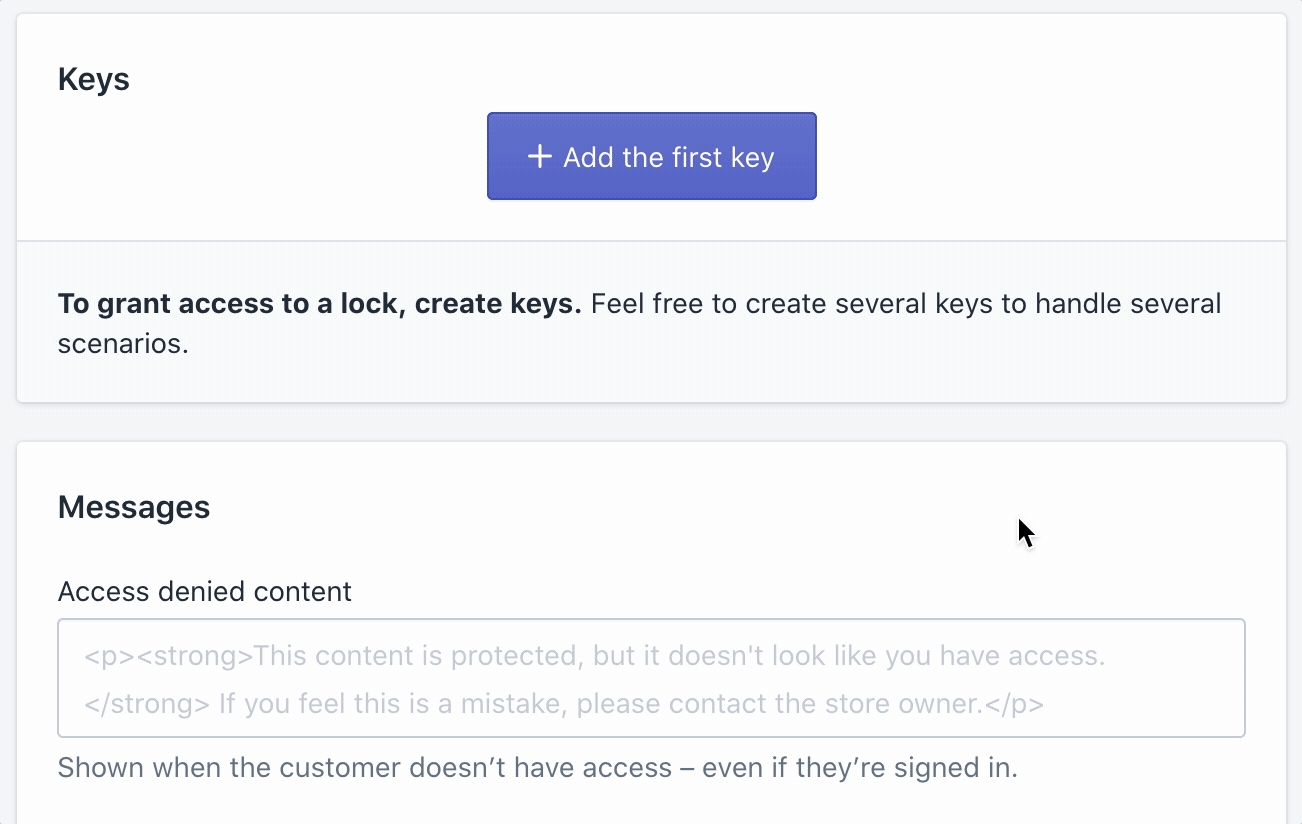
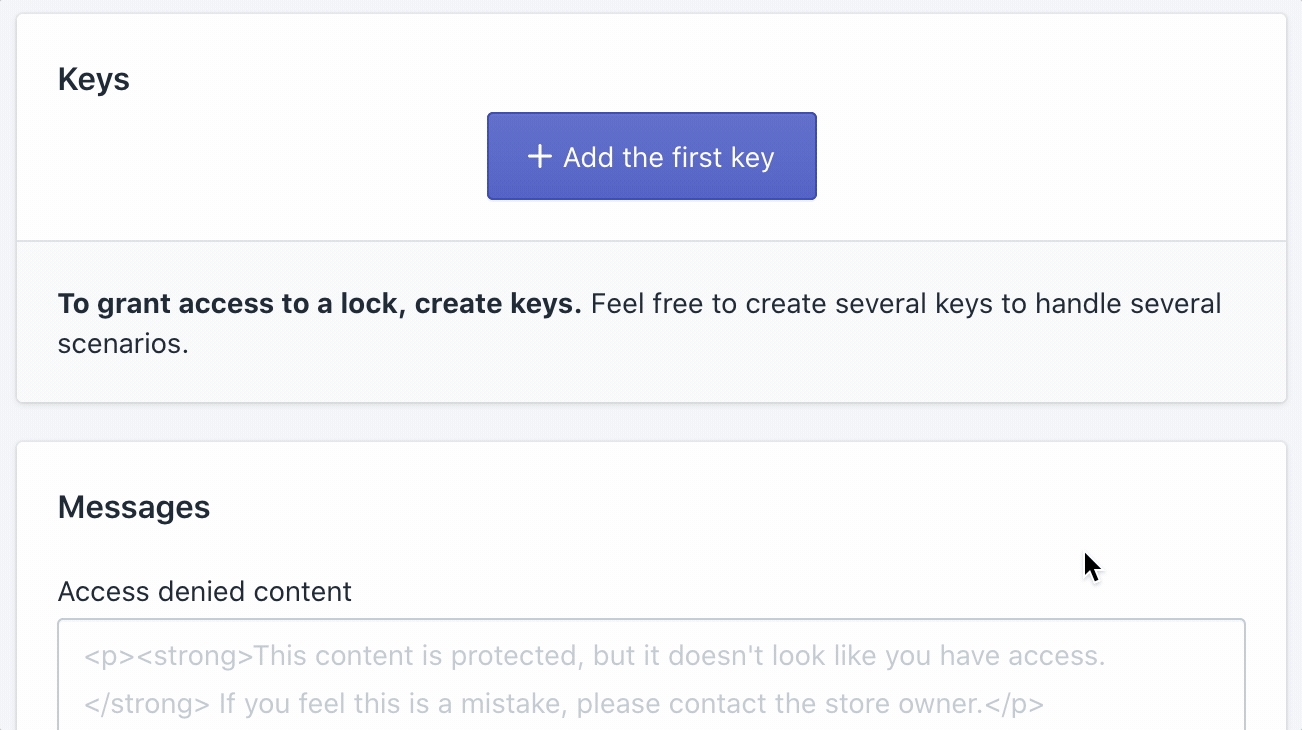
On the next screen, add a passcode key, setting the passcode to the same value as the postal code:
Save the lock.
Repeat for each of your postal codes, resulting in one lock per postal code variant option.
Back on the home screen of Locksmith, use the "Add lock" form to create a lock that covers the entire online store.
On the next screen, add a key that permits if the visitor enters one of many passcodes. Configure the passcode list to contain each of the postal codes that you support.
You're done! When visitors arrive at your online store, they'll be prompted to enter their postal code. If it's one of the codes on your list, Locksmith will let them in, and will now only show them variants that match the postal code they entered.
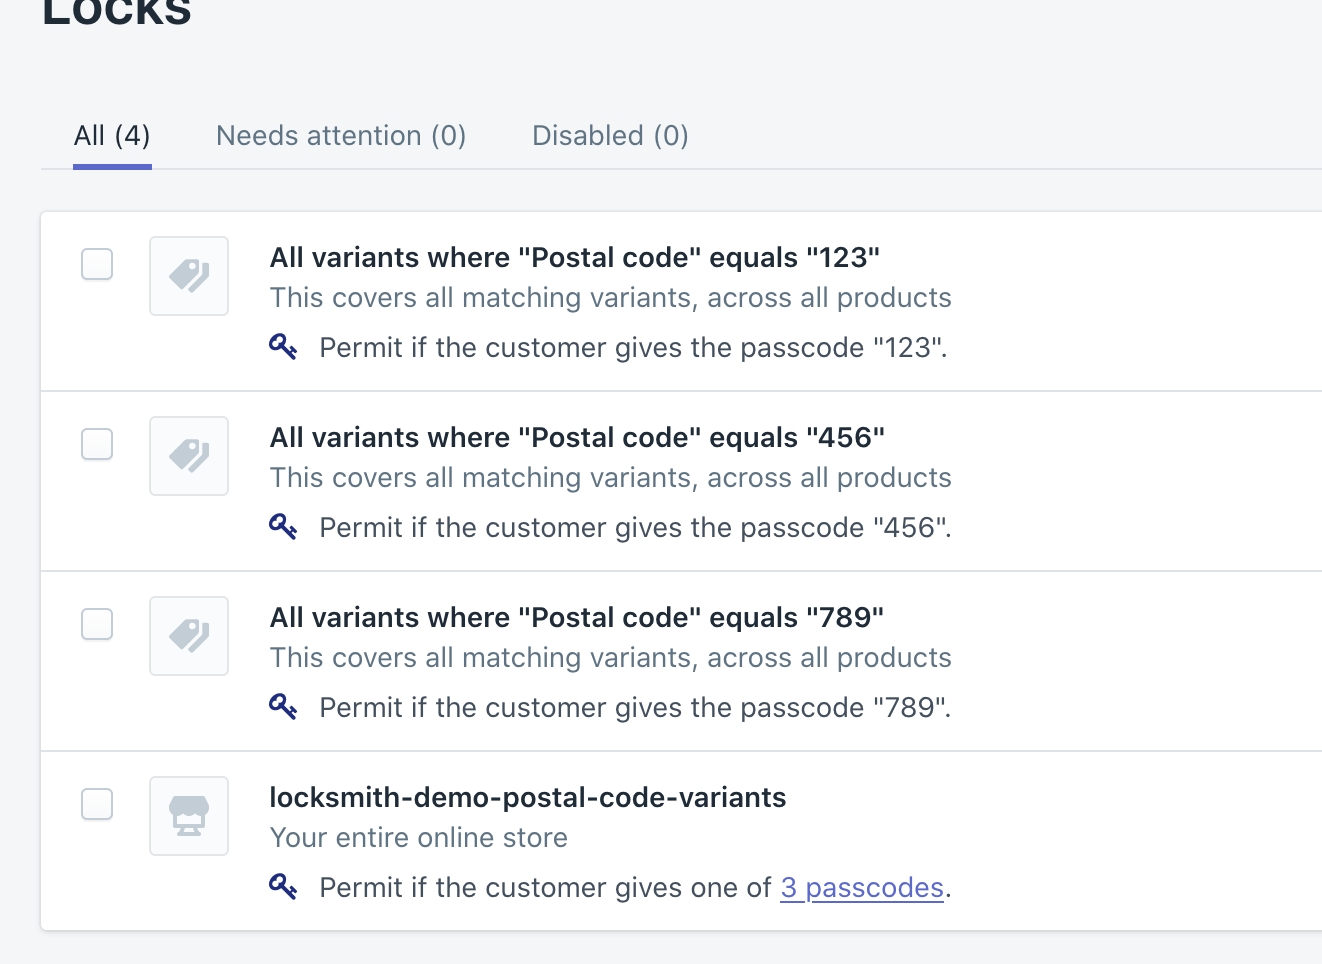
Your final Locksmith locks list should look something like this:
To try out the customer side of this, see the demo store linked at the beginning of this article.
